Add Your Players
Start in Squad Manager and make sure the players you want to use are already added to your squad.
For each player, the most important information to prepare is:
- Player number
- Name
- Position
- Role
- Stick side
You can also add additional information such as date of birth, height or weight.
The important part before your first match is simply making sure that every player you may want to select during tracking exists in the squad.
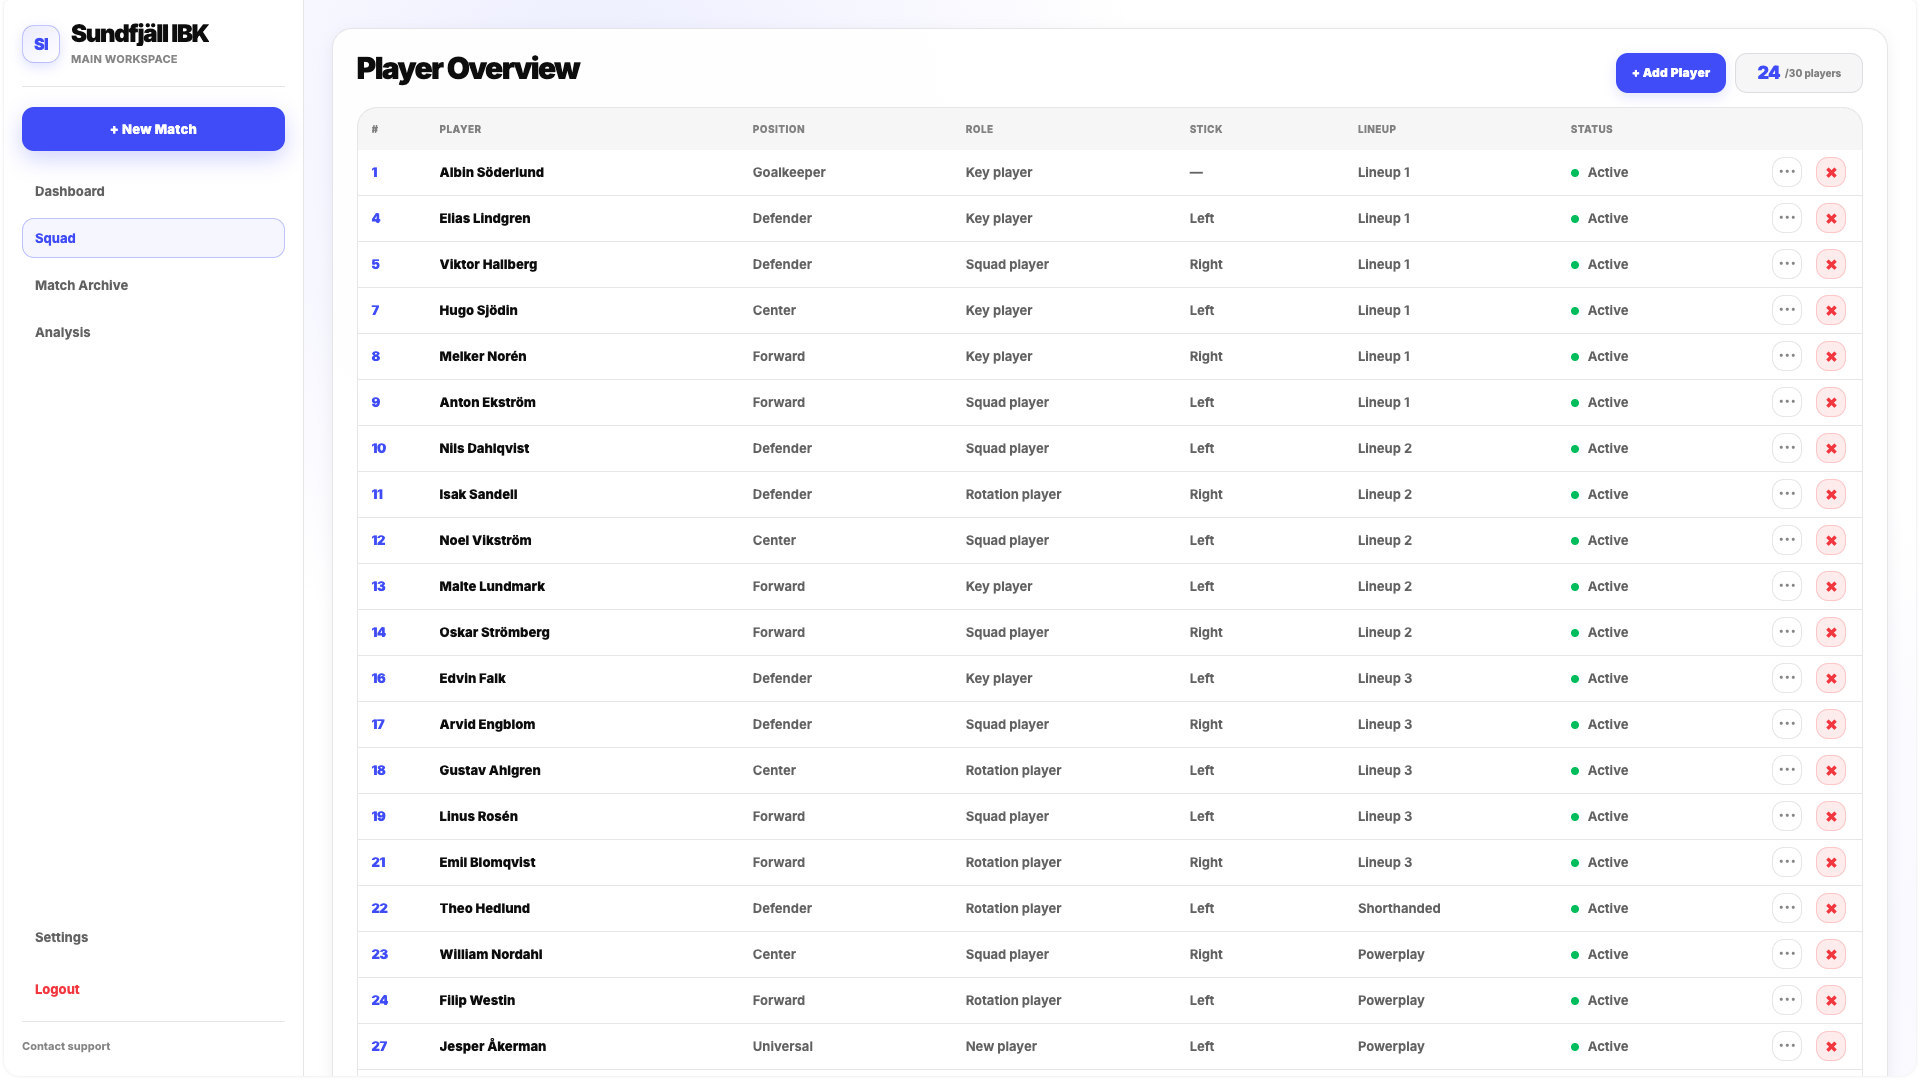
If a player is currently unavailable, you can also use the Player Unavailable event to reflect this in their squad status.
Prepare Your Lineups
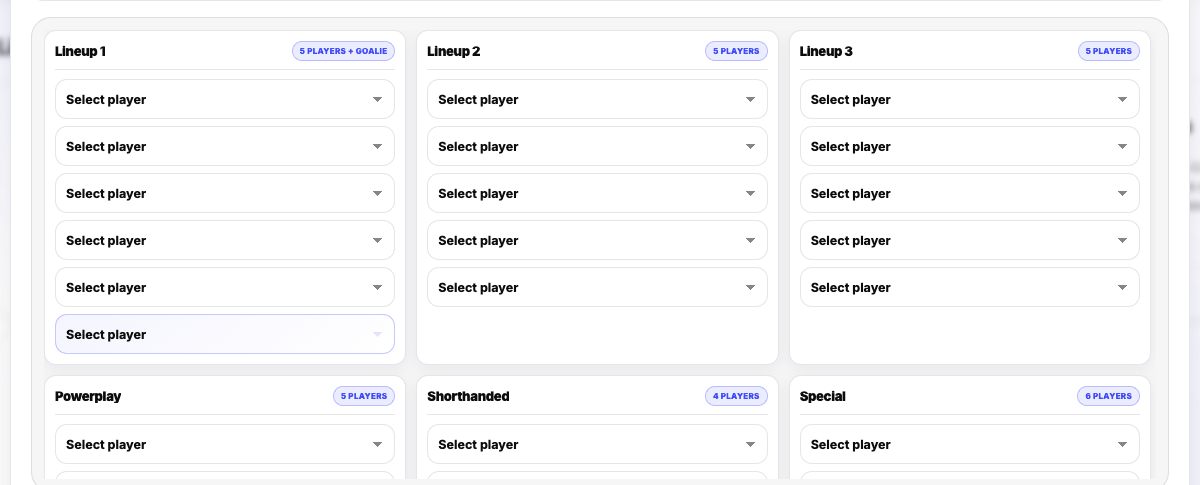
Once your players are ready, create a Lineup Group.
Every Lineup Group contains six formations:
- Lineup 1
- Lineup 2
- Lineup 3
- Powerplay
- Short-Handed
- Special
Assign the relevant players to each formation and make sure Lineup 1 contains a goalkeeper.
For your first setup, mark the Lineup Group you plan to use as the Default Setup.
This is important because the Default Lineup Group is used across different parts of FloorballStats when working with player and lineup information.
Try to prepare your lineups before the match starts. During live tracking, you should ideally only need to switch between formations rather than build them from scratch.
Create the Match
When your squad and lineups are ready, click + New Match from the main navigation.
Add the basic match information, such as:
- Match name
- Opponent
- Date
- Venue
- Match type
- League or competition
- Tags
Prepare the match information before opening the Match Board so that the game is correctly stored in Match Archive afterwards.
If you want to track Opposition lineups as well, you can also prepare their formations and assign players before the match.
This is optional for the basic workflow. Tracking Our Team correctly is more important for your first matches.
Check Your Match Settings
Before tracking starts, quickly review Settings.
You do not need to configure every option, but make sure the basic match setup matches the game you are about to track.
Check especially:
- Match Length
- Enable Overtime
- Enable Shootout
- Lock Period After End
- Switch Sides After Period
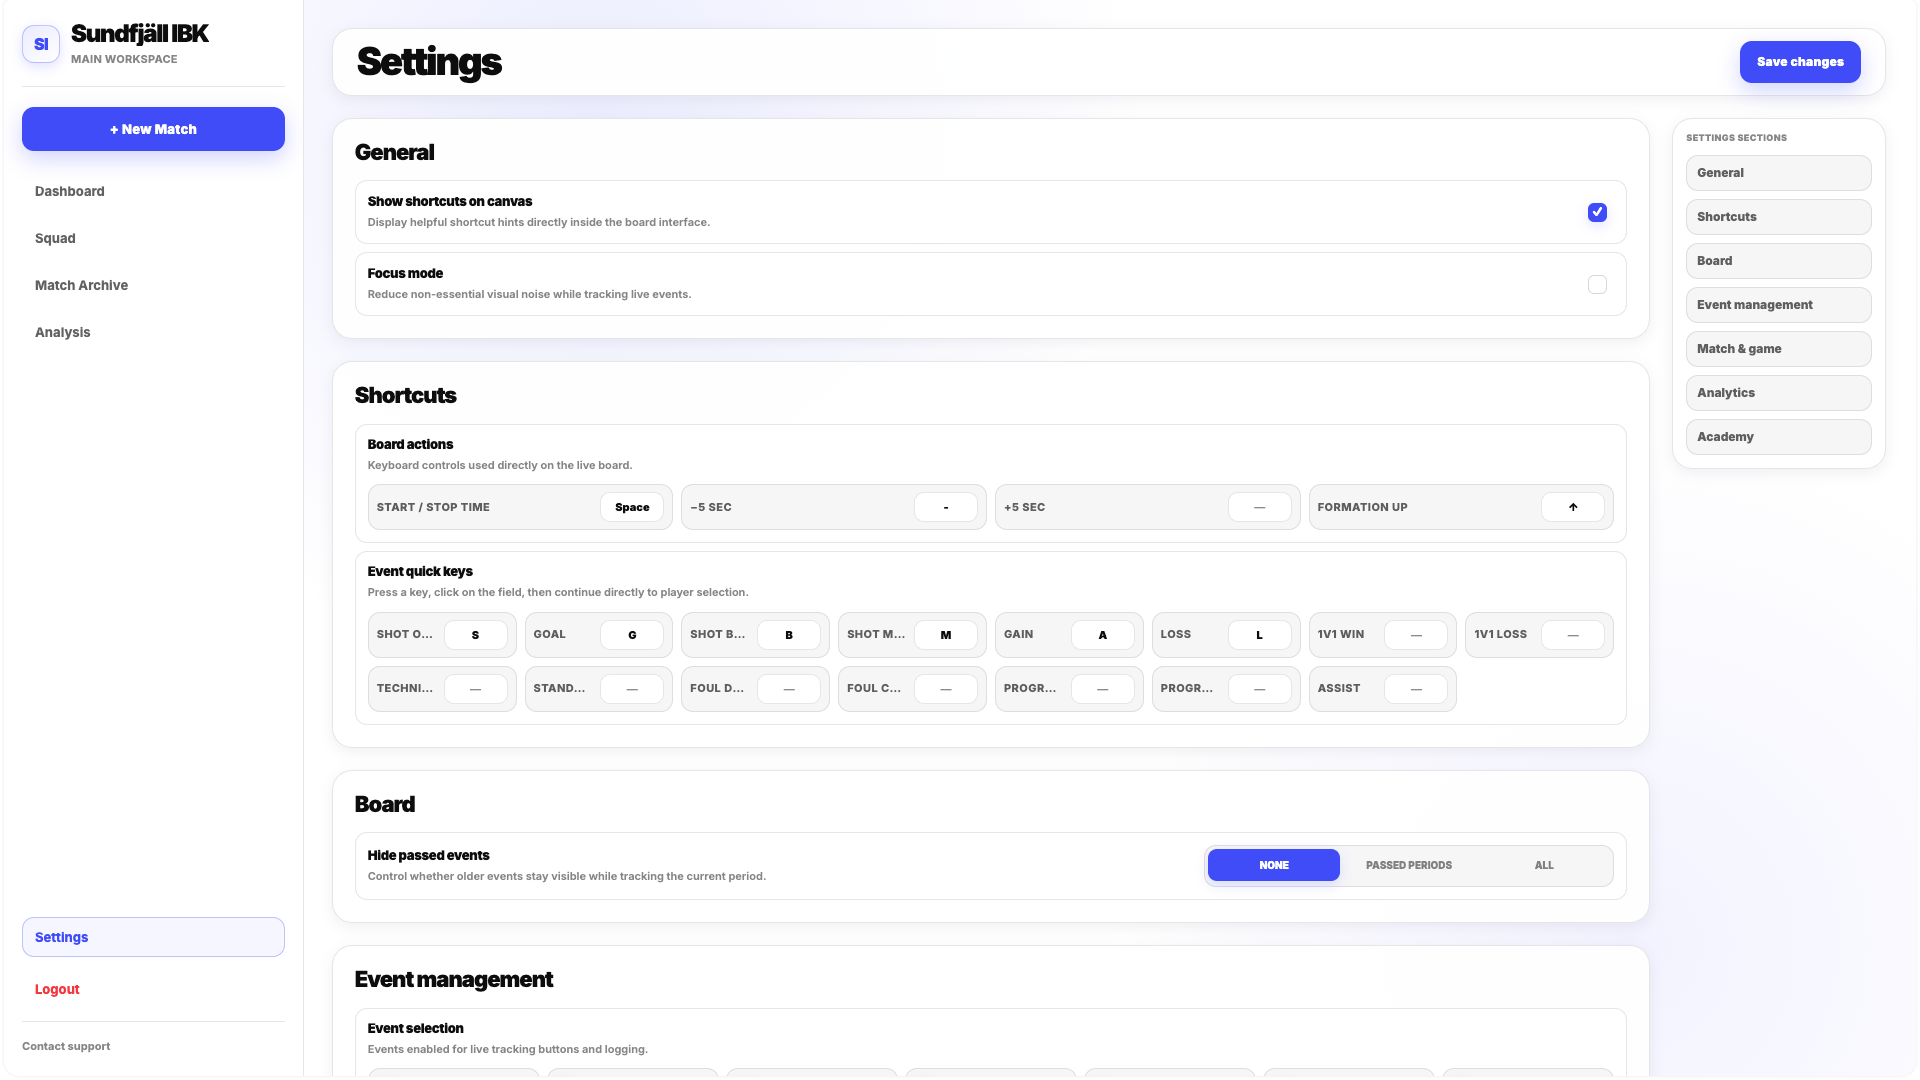
You can also decide which Event Types you want to use during the match.
For your first game, it is usually better to track a smaller set of events consistently rather than activate every available event and struggle to record them all.
Understand the Basic Event Workflow
Before the match starts, make sure you understand the standard way events are recorded on the Match Board.
For most events, the workflow is:
- Click the position where the event happened.
- Select the Event Type.
- Select the player who performed the action.
The event is then saved.
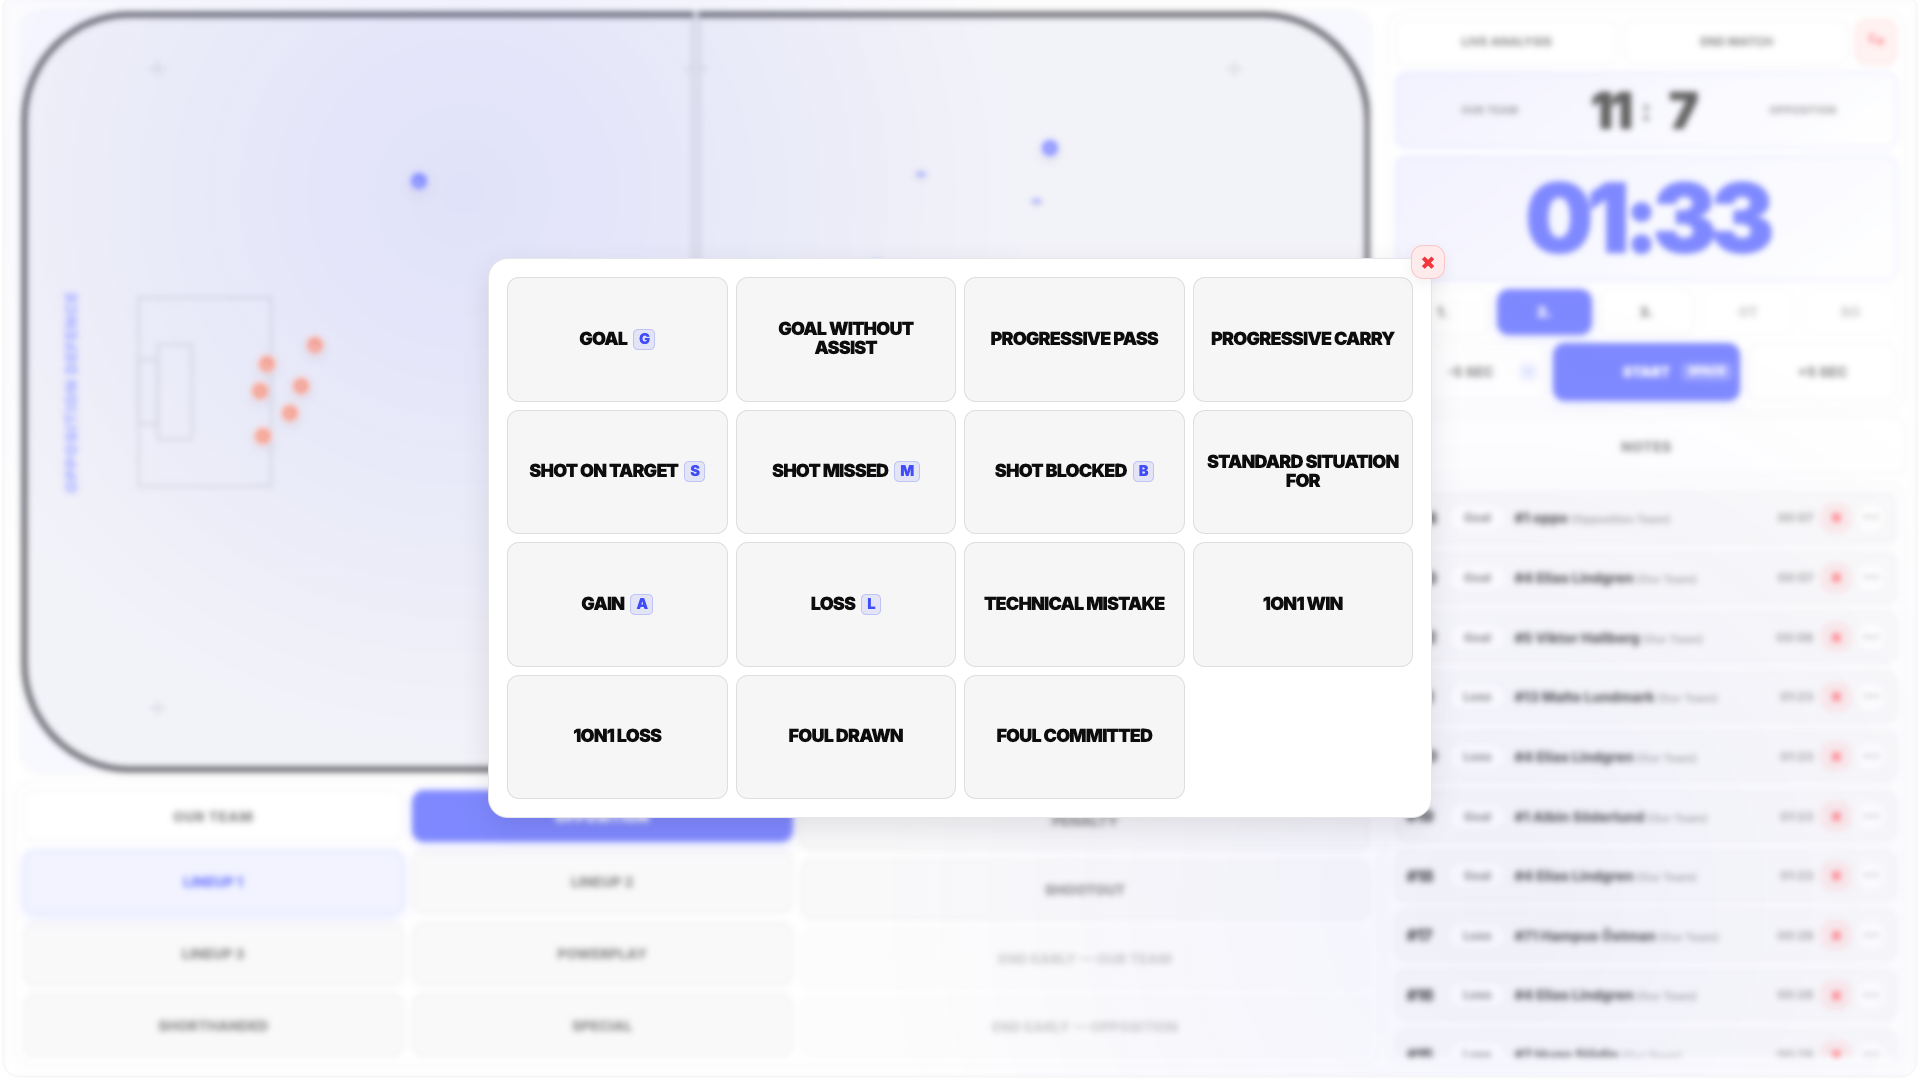
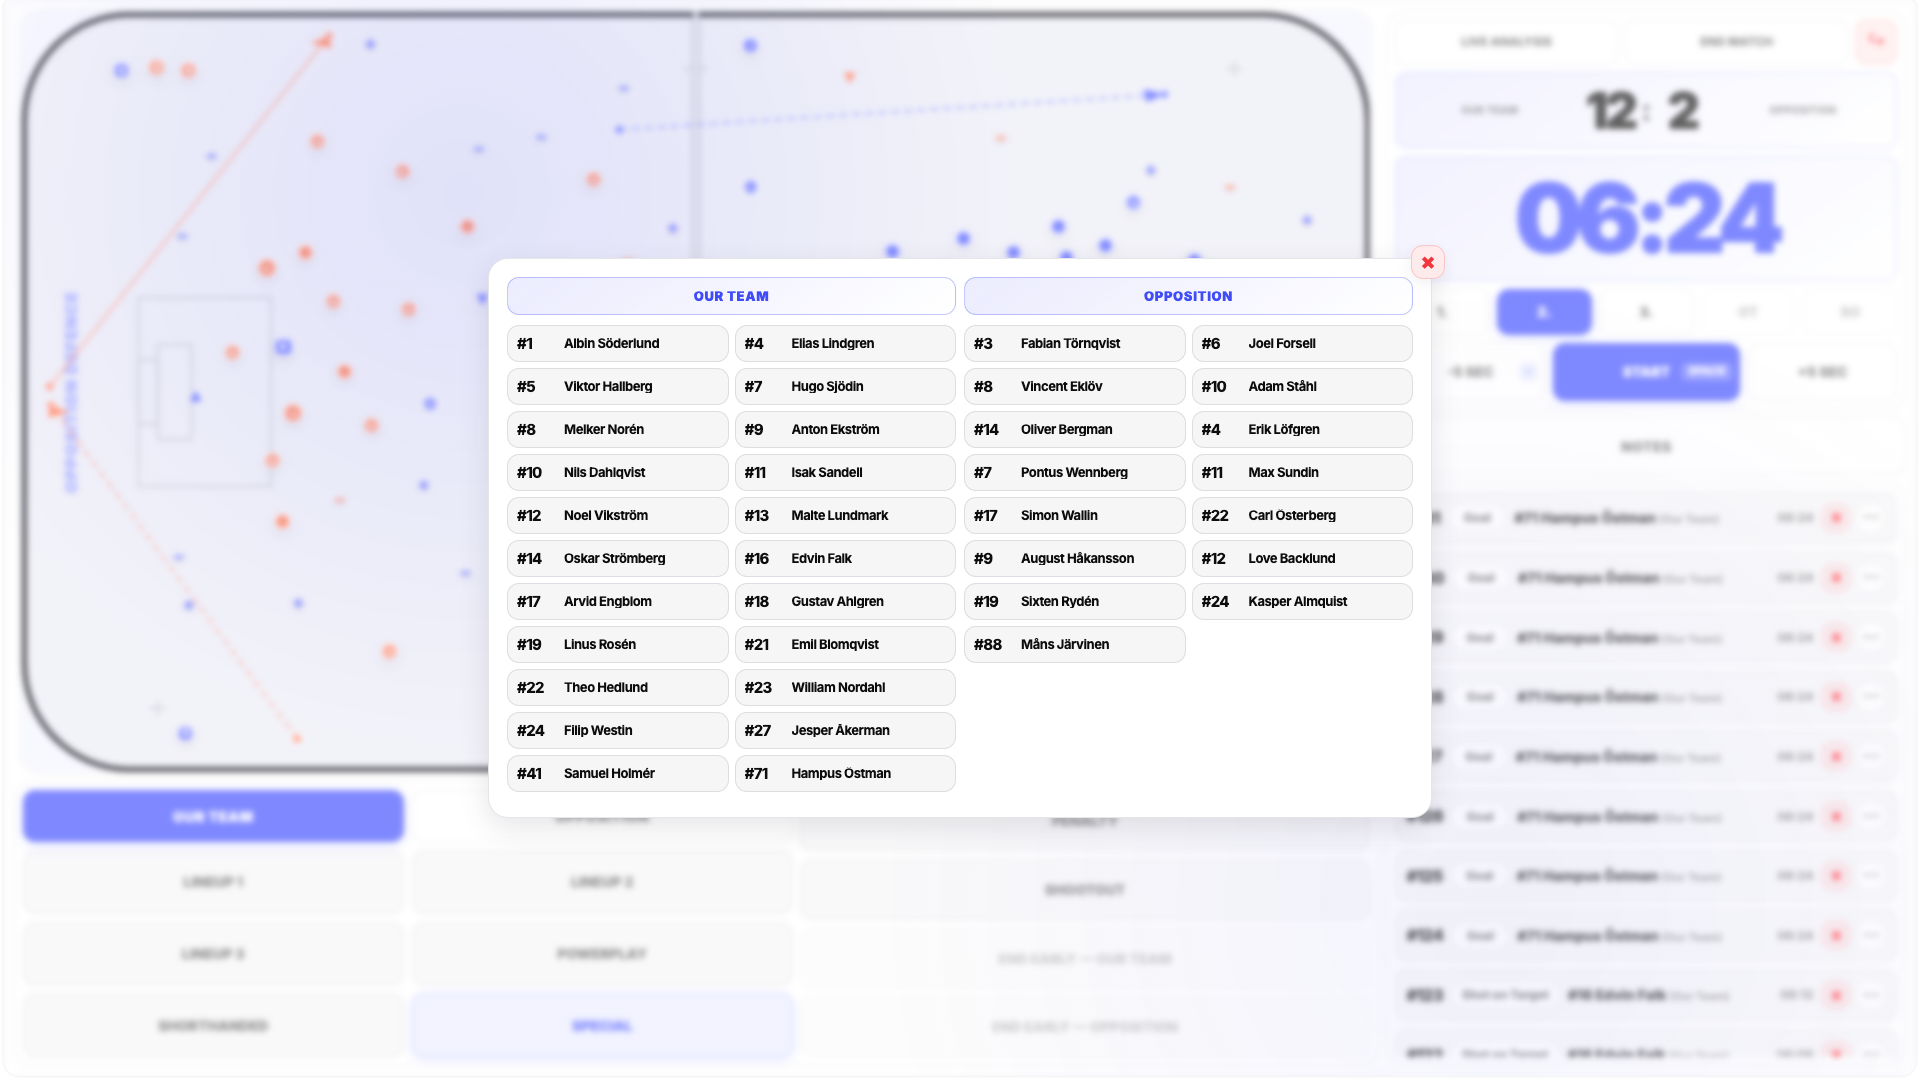
Some events use an extended workflow.
For example:
- Goal can continue into Assist Mode.
- Progressive Pass and Progressive Carry require an ending position.
- Shot Blocked requires both the shooter and the blocking player.
You do not need to memorize every special case before your first match, but it is useful to test these workflows once before live tracking begins.
Keep Track of the Active Lineup
During the match, one of the most important habits is keeping the active Our Team lineup updated.
Whenever your formation changes, switch the active lineup on the Match Board.
FloorballStats uses this information to calculate lineup playing time and connect events with the formation that was on the floor.
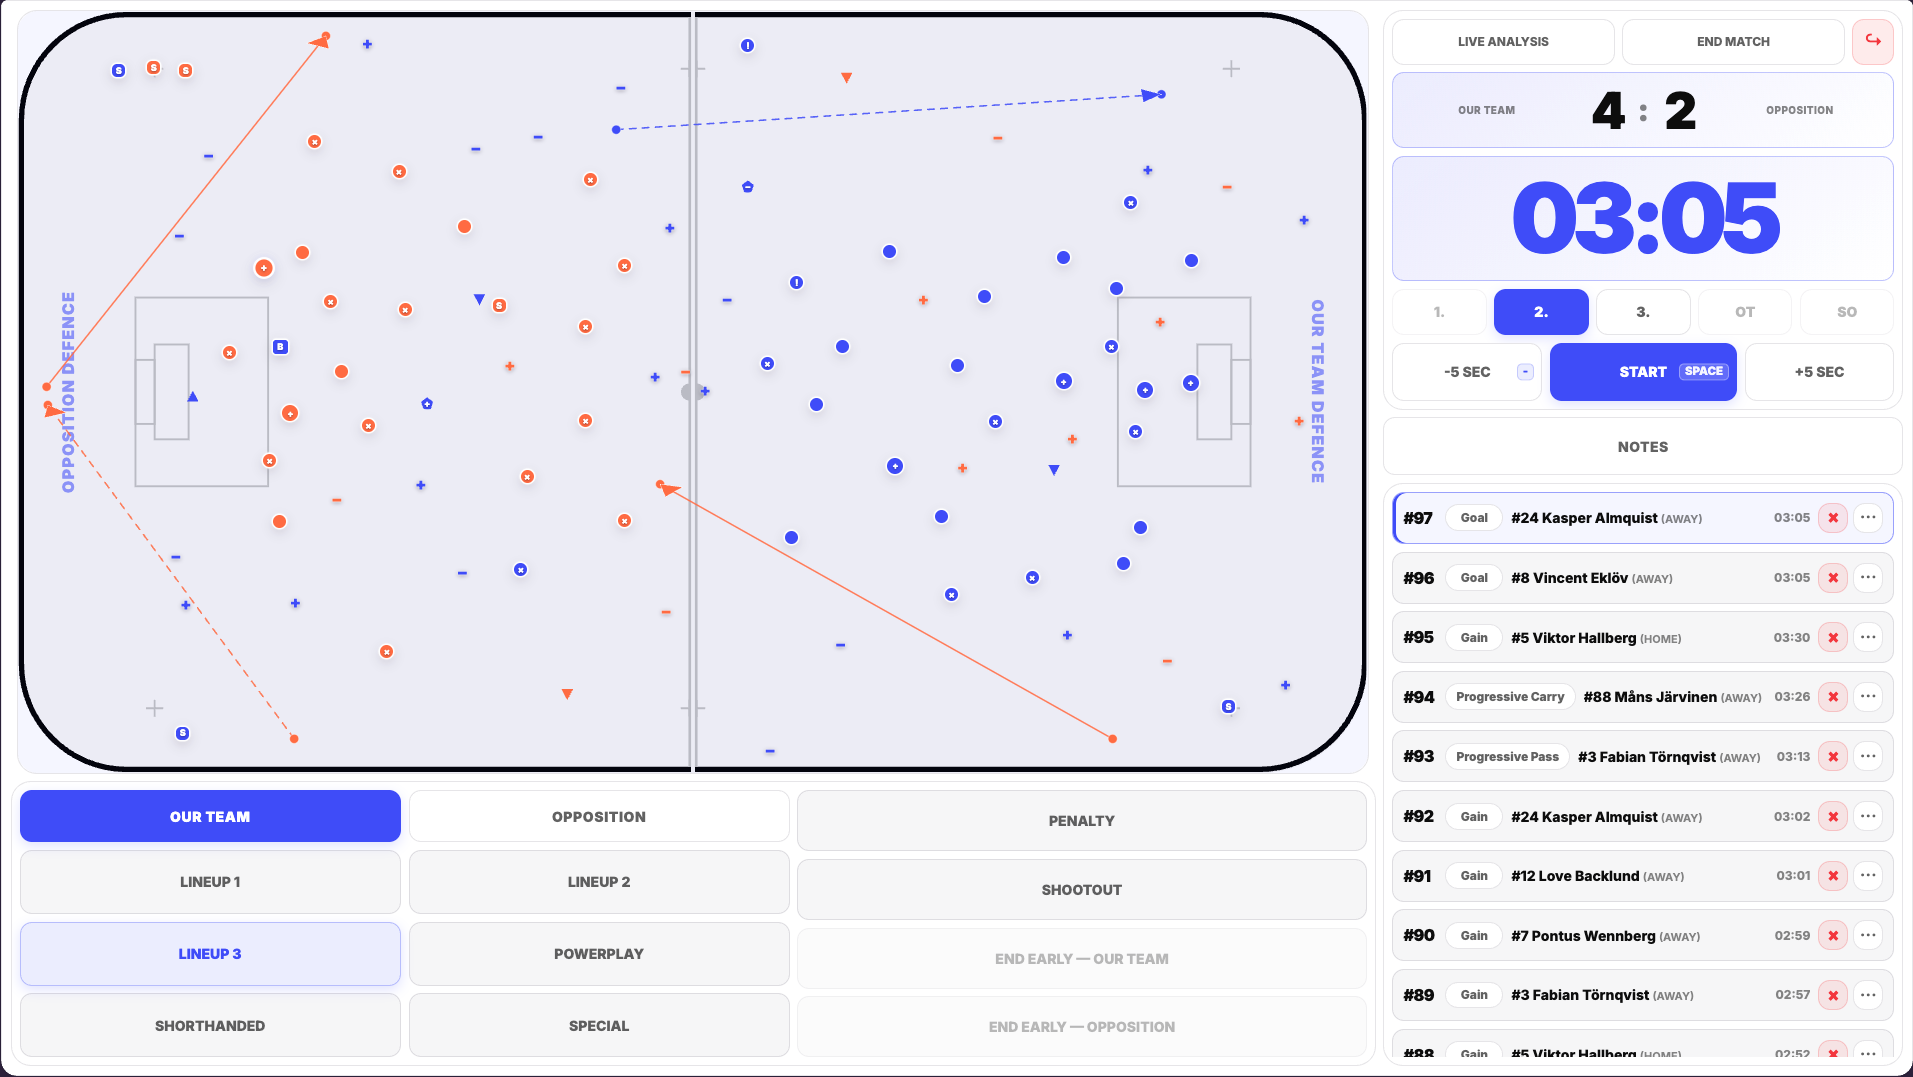
If lineup changes are not recorded, later lineup statistics will not accurately represent how your formations were used during the match.
Basic Tips for Your First Match
Your first match does not need to be perfect. The main goal is to create a tracking workflow that you can use consistently.
Use the Event Types that matter most to your team and add more advanced tracking later.
Players, lineups and match information are much easier to set up before live tracking begins.
Consistently recording a smaller number of events is more valuable than trying to record everything but missing actions throughout the game.
This has a direct impact on lineup time and lineup analytics.
If the Match Clock becomes slightly out of sync with the real game, you can correct it in five-second steps.
Recorded events can be edited or deleted from the Event Feed if you notice an error.
Ready for Your First Match
Once your players are added, your Default Lineup Group is prepared, the match has been created and the basic settings are correct, you are ready to open the Match Board and start tracking.
A simple preparation workflow is:
Add Players → Prepare Lineups → Create Match → Check Settings → Open Match Board
After your first few matches, the workflow becomes much faster and you can gradually introduce more Event Types, shortcuts and advanced tracking options.
For a complete explanation of every page and Match Board workflow, see the Complete FloorballStats Platform Guide.